


Hello-hello!
LOOK - another project around the home....this time, I re-dressed a milk carton! I love it now! In its "former" life, it was packaging for a set of scented home products from William Sonoma. And I loved it for awhile, but when I was finished with it (it had Christmas all over it!!) ...I thought it was too good to toss. So I tucked it away for a rainy day.
Then in the first days of the weather turning warmer, I found it and decided it would be a nice addition to my kitchen or hallway. But in a new suit, so to speak.


TRACE THE ORIGINAL - CUT OUT A PATTERN
If you find something similar, in order to re-dress the surface, it's best to 'pick apart' the original.
a) Make a template.
And if you would like a template to make another, then this is the time to trace the whole thing - which I did - onto a large piece of poster card ($1 store!). Then I cut the template pattern out with scissors, and a hobby knife for interior slots.
b) Cut your new Cardstock /Paper
Using your new template, trace the outline onto the back side of the 12x12 in. cardstock/paper. Do all sections. Gently trace any interior sections that need to be cut out with a hobby knife - careful, to not tear your paper!
Now - you have your traced outline transferred to your cardstock/papers....cut away!
[ I always take my time on this step because I don't want my scissors to cut away too much....now its time to glue!]
RE-ASSEMBLE your original - because now its time to re-cover it.
ALTERING THE SURFACE
c) Re-cover the object
I use plain old white glue! (gasp!) It's true, but you could use your own method - like adhesive spray - or even tape the entire outline [be careful to get all areas that might buckle if they are not secured down].
Anyways, I apply lines of white glue and then scrape it down (like washing the windows!) ...so I only leave a thin film of glue ...
...then line up the cardstock/paper to the old milk crate (your project) ...and working from the middle of each section, press and slide your hand to smooth out the cardstock/paper to the object's surface outward in all directions. Starting in the middle assures that you will not slide the paper to one side, and helps to prevent buckles. [Depending on your method, check to see how everything is working out in the first 5 mins. Sometimes, a piece is buckled up, so you should smooth it down ---a little coaxing! ]
d) Embellish
I used some lovely ribbon sent to me by a friend - such a nice green! Love the embroidered flowers! And to really add a 'punch' - I used one of Stampin' Up!'s fabric flowers and a nifty silver brad!
VOILA!!!
Now by recycling, I have a nice beautiful, FRESH looking addition to my hallway. I used it to hold flowers for Easter. I am waiting to recycle some frappachino bottles - the ones shaped like little milk bottles? They may hold some small embellishments - more storage! Won't that look great!
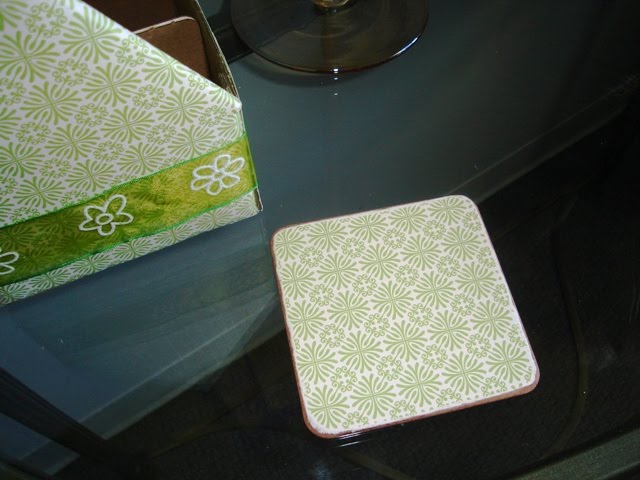
I am also working on matching coasters! :)
SO GO AHEAD - RECYCLE SOMETHING!!!
- LEARN CRAFT IDEAS -
- LEARN CRAFT IDEAS -
bye for now!

0 comments:
Post a Comment